Understanding Resin 3D Printing
Resin 3D printing represents a significant advancement in additive manufacturing, offering precision and versatility unparalleled by traditional filament-based 3D printing methods. Essentially, resin 3D printing creates models by curing liquid resin into hardened plastic, layer by layer, through a process known as photopolymerization. As the resin is exposed to specific wavelengths of light, it undergoes a chemical reaction, solidifying into the desired shape.
Unlike filament 3D printing, which uses thermoplastic filaments melted and extruded through a nozzle, resin 3D printing relies on photosensitive resins that solidify when exposed to light. This fundamental difference entails variations in print quality, material properties, and the overall printing process. While filament 3D printers (FDM or Fused Deposition Modeling) are known for their versatility and ease of use, resin printers excel in creating high-resolution, intricate details with smoother finishes, making them ideal for applications such as jewelry, dental models, and miniatures.

There are three main types of resin 3D printers: stereolithography (SLA), digital light processing (DLP), and liquid crystal display (LCD). SLA printers use a laser to cure the resin, offering high precision and accuracy. However, they tend to be slower and more expensive. DLP printers utilize a digital light projector screen to flash an image of the layer across the entire build area simultaneously. This method is faster than SLA and equally capable of producing high-resolution prints. Lastly, LCD printers employ an array of UV LEDs shining through an LCD screen to cure the resin. While generally less expensive, LCD printers can wear out faster and might not sustain the same level of detail over extensive use.
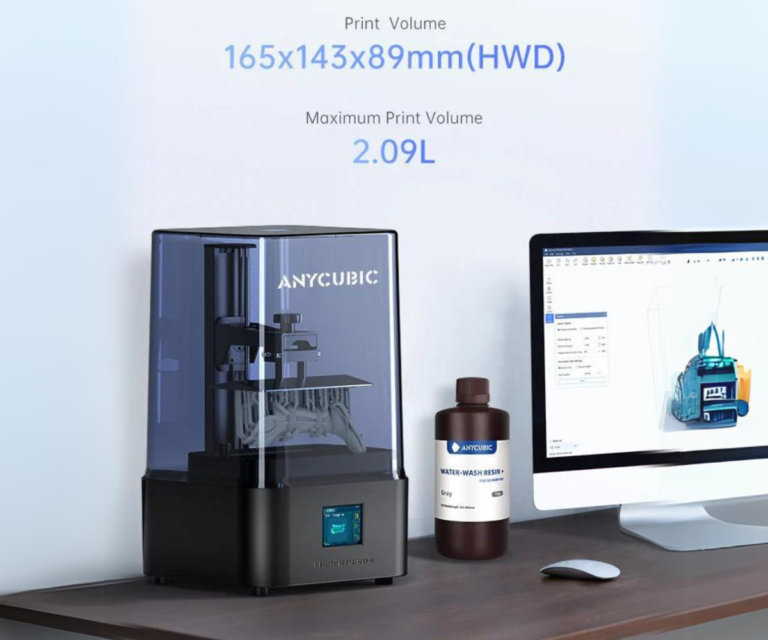
Key factors such as layer height, resolution, and build volume significantly impact the print quality in resin 3D printing. Layer height refers to the thickness of each cured layer, with thinner layers resulting in higher resolution and smoother finishes but increasing print time. The resolution determines the printer’s ability to capture fine details, while build volume dictates the maximum size of the object that can be printed. Understanding these parameters allows users to select the appropriate resin printer and settings to achieve optimal results.
Recommended Resin 3D Printers for Home Businesses
1. Anycubic Photon Mono X 6K
Best for: High-resolution prints
The Anycubic Photon Mono X 6K offers exceptional print resolution, making it ideal for businesses that need detailed and smooth prints. This printer is perfect for creating intricate jewelry, miniatures, and other precision products.
2. Elegoo Mars 4 Ultra
Best for: Balance of quality and affordability
The Elegoo Mars 4 Ultra is a reliable resin printer that offers excellent print quality at an affordable price. It’s a great choice for small businesses needing a cost-effective option without compromising on performance.
3. Phrozen Sonic Mini 8K
Best for: Ultra-high detail
The Phrozen Sonic Mini 8K is designed for businesses that require the highest level of detail. With its ultra-high resolution, this printer is ideal for industries like jewelry design, dental modeling, and detailed miniatures.
4. Creality HALOT-MAGE
Best for: Advanced features and large build volume
The Creality HALOT-MAGE is a powerful resin printer that combines advanced features with a large build volume, making it suitable for a variety of home business applications. It’s an excellent choice for entrepreneurs who need a versatile and reliable machine.
Preparing Your Workspace and Equipment
Creating a well-organized and safe workspace is an essential step for mastering resin 3D printing. Begin with selecting an area that is well-ventilated to mitigate the fumes emitted by the resin. If proper ventilation isn’t available, investing in a high-quality air purifier is highly recommended to ensure a safer environment.
Safety should always be the top priority. Essential equipment includes nitrile gloves to protect your hands from resin contact, safety goggles to shield your eyes, and a respirator mask to avoid inhaling harmful fumes. These safety measures are non-negotiable when dealing with resin, which can be toxic.
Aside from safety gear, organizing your workspace with specific tools and supplies is vital. Have dedicated containers for isopropyl alcohol (IPA) for cleaning printed parts and the resin vat. Keep plenty of paper towels or microfiber cloths handy for spills and cleaning. It’s also useful to have plastic or silicone spatulas for safely handling resin and printed parts, as well as dedicated brushes for meticulous cleaning tasks.
Setting up your 3D printer involves a few crucial steps. Begin by leveling the build plate, which is key for successful prints. Follow the manufacturer’s instructions for your specific printer model to achieve an even, calibrated surface. Then, securely attach the resin vat and ensure that it is clean and free from any debris. Pour the resin carefully into the vat, avoiding overfilling, and use a funnel if necessary to minimize spillage.
Maintaining your resin printer is equally important. Regular calibration checks and consistent cleaning of the build plate and resin vat will enhance print quality. Additionally, check the firmware updates from the manufacturer—these often include performance enhancements and bug fixes that can further optimize your printing experience.
By adhering to these guidelines, you lay a robust foundation for achieving high-quality resin prints while ensuring a safe and efficient workspace.
Designing and Slicing Models for Resin Printing
When embarking on the journey of resin 3D printing, the first critical step is preparing your digital models. This involves utilizing 3D modeling software to create or modify designs tailored for your specific printing needs. For beginners, user-friendly options like Tinkercad and SketchUp offer intuitive interfaces, while seasoned professionals might prefer the advanced capabilities of Blender or Autodesk Fusion 360.
Attention to detail is paramount when designing models for resin printing. Ensure your model is appropriately scaled and meticulously detailed. This precision is critical as the high resolution of resin printing can capture finer elements that other methods might overlook. If you opt for downloading pre-made models, platforms such as Thingiverse or MyMiniFactory offer a plethora of options, but always verify the model’s specifications for compatibility with resin printing.

Once your model is ready, the next step involves using slicing software compatible with resin printers. Common choices include ChiTuBox, PrusaSlicer, and Lychee Slicer. Slicing software converts your 3D model into layers that the printer can interpret and print. Adjusting settings such as layer height, exposure time, and the inclusion of support structures is crucial. Layer height impacts print resolution; finer layers capture more detail but increase print time. Proper exposure settings ensure each layer cures correctly, preventing structural weaknesses.
Optimizing the design for printing success involves several strategic considerations. Orientation of the model is vital; the goal is to minimize the surface area of each layer to reduce the chances of print failures and excessive support use. Avoiding overhangs and ensuring there are adequate support structures will also enhance the stability and overall quality of the print. Properly supported and oriented models are less prone to warping or collapsing during the printing process.
By mastering these steps—selecting the appropriate software, meticulously scaling and detailing your model, and skillfully slicing with optimized settings—you can significantly enhance the quality and success rate of your resin 3D prints. This foundational knowledge empowers you to approach resin printing with confidence and precision.
Printing, Post-Processing, and Finishing
Initiating a successful resin 3D print involves meticulous preparation and close monitoring throughout the print cycle. Begin by loading your STL file into your resin 3D printer’s slicing software, ensuring that the supports are strategically placed to provide adequate structure to the model. Once the file is prepared, secure the build plate, fill the resin vat with the appropriate type and color of resin, and initiate the print.
During printing, it’s crucial to monitor the process periodically. Issues like failed adhesion can occur if the build plate is not level or if the first layers do not cure properly. Similarly, print defects such as layer shifts or air bubbles can arise from environmental factors or incorrect settings. Troubleshooting these issues promptly involves recalibrating the build plate, adjusting the exposure times, or ensuring that the print environment remains stable and free of drafts.
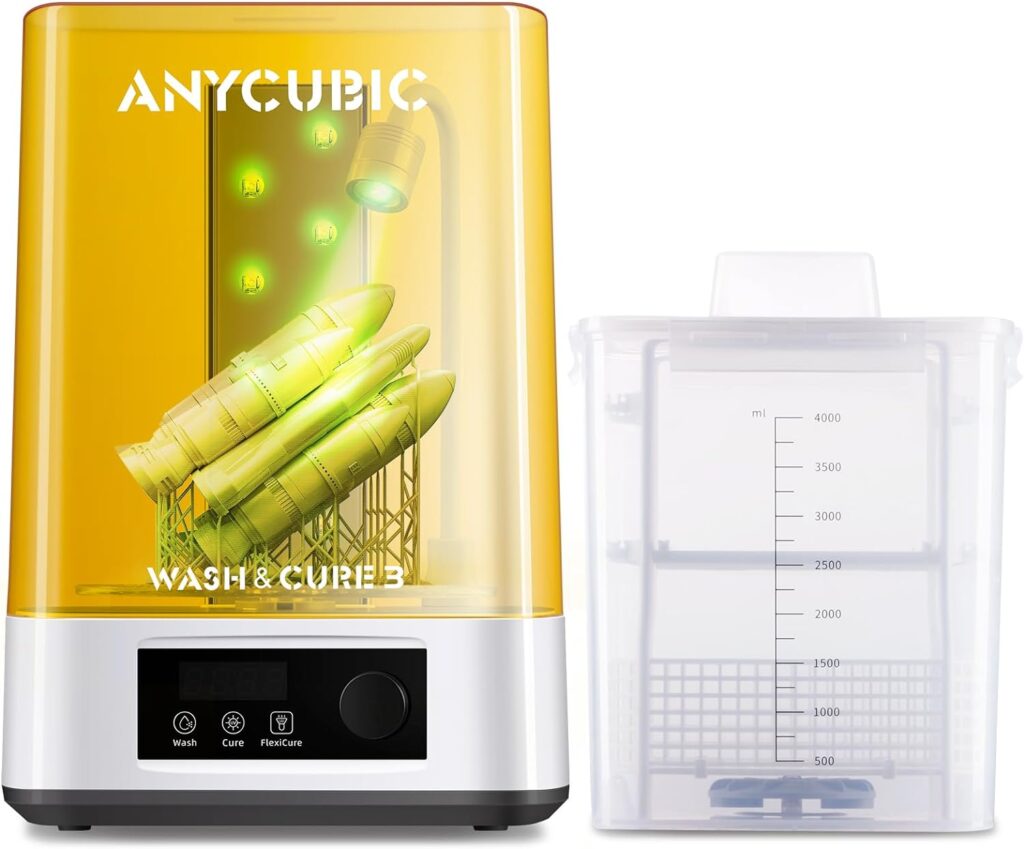
Upon completion of the print, post-processing is essential to perfecting the final product. Begin by carefully removing the print from the build plate—this can usually be achieved with a spatula or scraper. The next step is to immerse the print in isopropyl alcohol for a thorough cleaning, which helps dissolve any uncured resin and prevents sticky surfaces. After rinsing and drying the print, the curing process is necessary to enhance its strength and detail. Use a UV light box or natural sunlight to cure the print for the recommended duration.

Additional finishing techniques can further refine and enhance the appearance of your resin 3D print. Sanding the surface with fine-grit sandpaper can smooth out any imperfections. For aesthetic improvements, painting can be conducted using model-grade acrylic paints, ensuring that primer and sealant layers are applied for optimal finish. Whether adding intricate details or achieving a professional look, these finishing touches elevate the quality of your resin prints.
This thorough approach to resin 3D printing, from the initial setup to the final stages of post-processing and finishing, ensures a polished and professional result. Mastering each step not only improves the integrity of your prints but also enhances their visual appeal, providing a holistic understanding of the resin 3D printing lifecycle.


