1. Initial Setup and Calibration
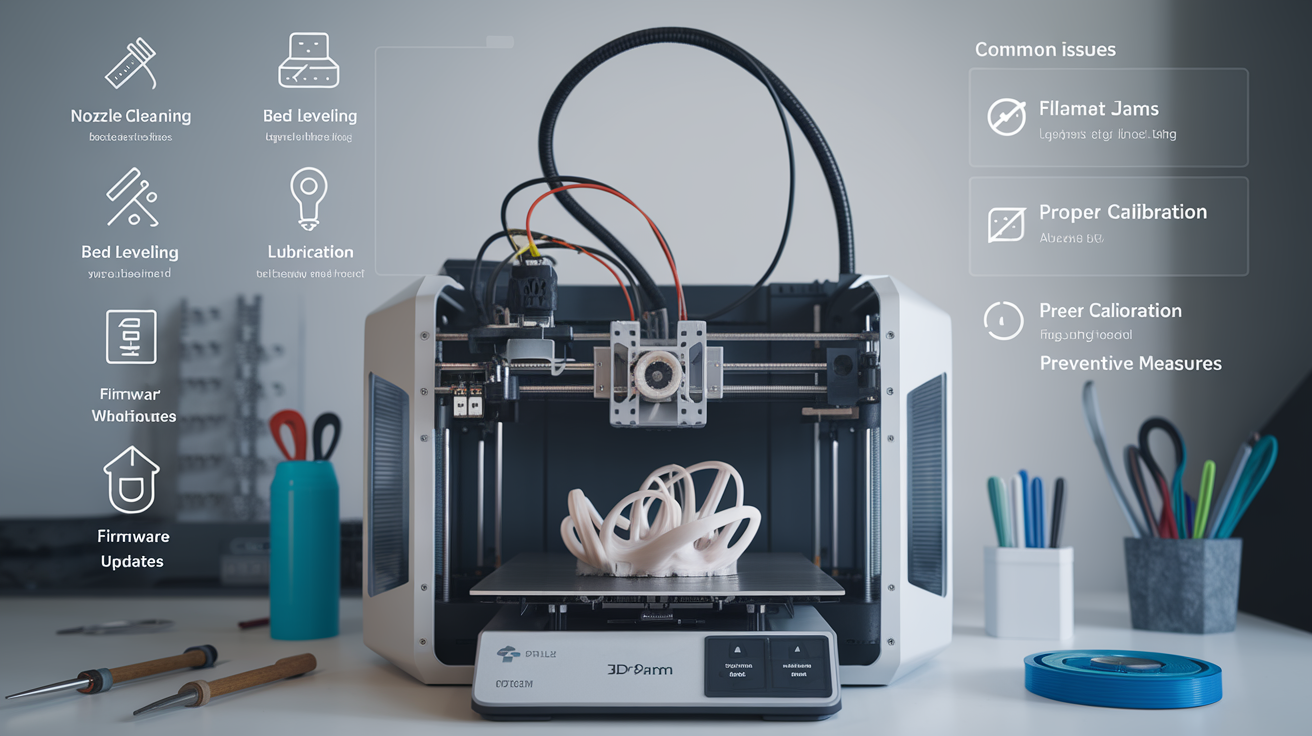
Setting up your 3D printer correctly is paramount for achieving optimal performance. Begin by ensuring that your printer is on a stable, flat surface, which helps avoid vibrations that can affect print quality. Carefully follow the manufacturer’s instructions to assemble your 3D printer, as incorrect assembly can lead to errors and decreased performance.
Once assembled, the next important step is firmware updates. Keeping your printer’s firmware up-to-date is critical as these updates often include performance improvements, new features, and bug fixes. Visit the manufacturer’s website to download the latest firmware, and follow their specific instructions to apply the update.
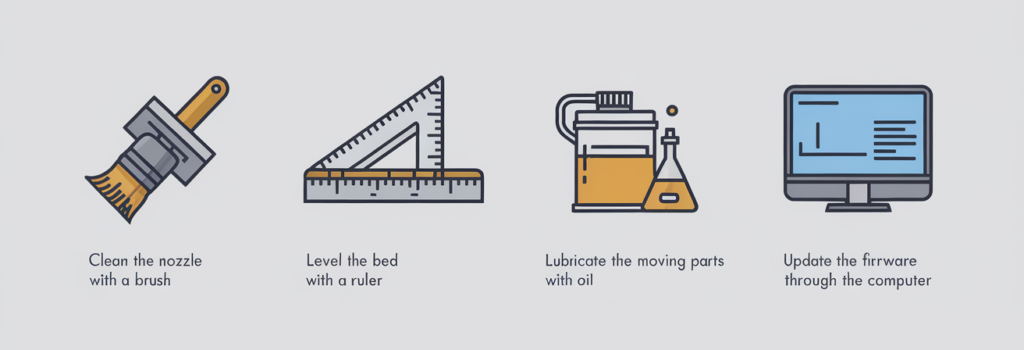
Calibration and bed leveling are crucial for accurate and high-quality prints. Start by homing the printer’s axes to ensure they are in the correct starting positions. Then, level the print bed using a piece of paper or a feeler gauge. Adjust the bed height at multiple points to maintain a consistent distance between the nozzle and the bed across the entire surface. This step can often require patience and multiple attempts, but it is essential for preventing print failures and ensuring the first layer adheres properly.
Another important aspect of the initial setup is adjusting the printer’s settings for optimal results. This includes setting the correct nozzle temperature, bed temperature, and print speed based on the filament type you are using. Consult the filament manufacturer’s recommendations for these settings. Additionally, ensure that the extruder is calibrated to extrude the correct amount of filament, which can significantly impact print quality.
Common mistakes during the initial setup include not thoroughly tightening all screws and bolts, neglecting to check for loose wires, and ignoring bed leveling. Skipping these steps can lead to print failures, poor print quality, and potential damage to your printer. Taking the time to meticulously set up and calibrate your 3D printer can save considerable time and effort in the long run while ensuring your prints meet the highest standards.
Regular Cleaning and Maintenance
Regular cleaning and maintenance of your 3D printer are critical to ensure its longevity and consistent performance. Each component of the printer requires specific attention. By adhering to a systematic cleaning routine, you can avoid common issues such as filament jams, print failures, and wear and tear on parts.
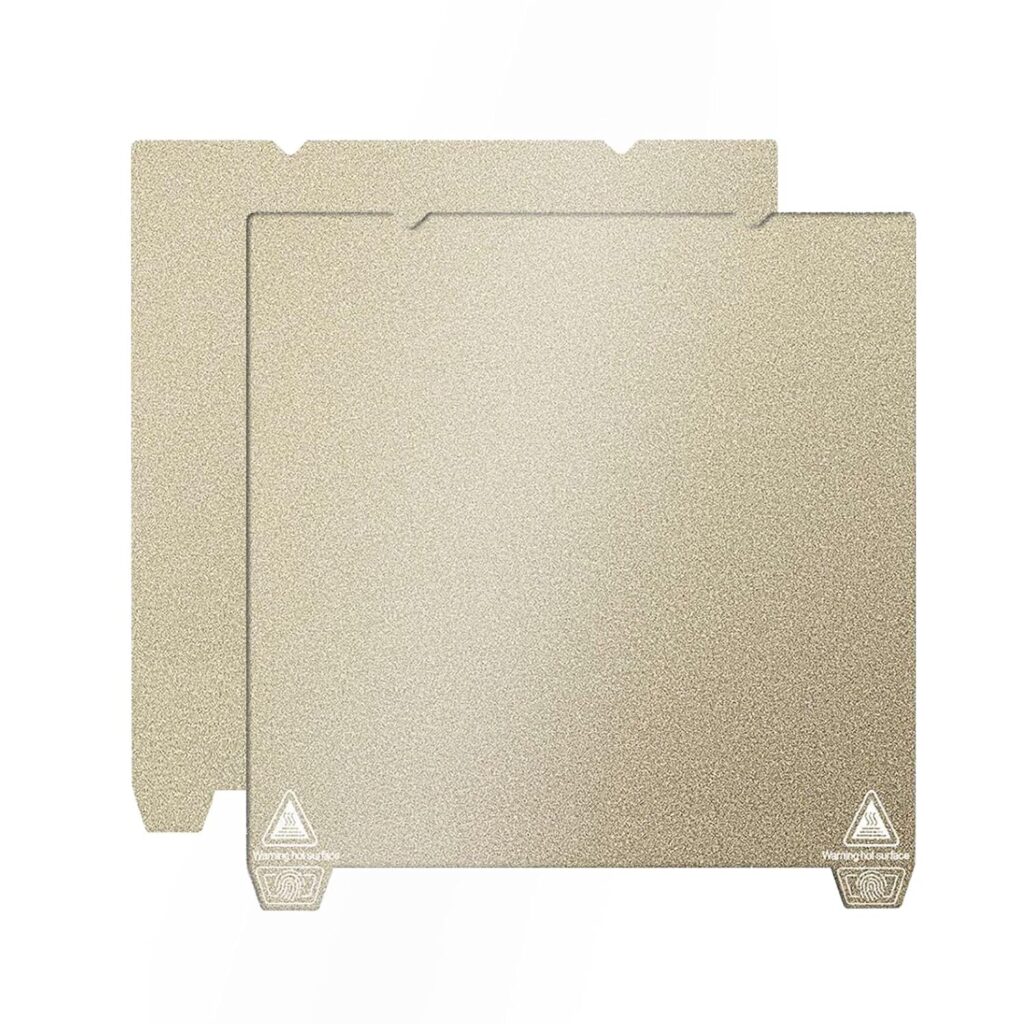
Start with the print bed, which should be cleaned after every printing session. Use a soft, lint-free cloth with a small amount of isopropyl alcohol to wipe away any residual glue, dust, or filament fragments. Avoid using abrasive materials that may damage the bed’s surface. For glass print beds, a scraper can help in removing stubborn residues; however, ensure it’s used gently to prevent scratching.
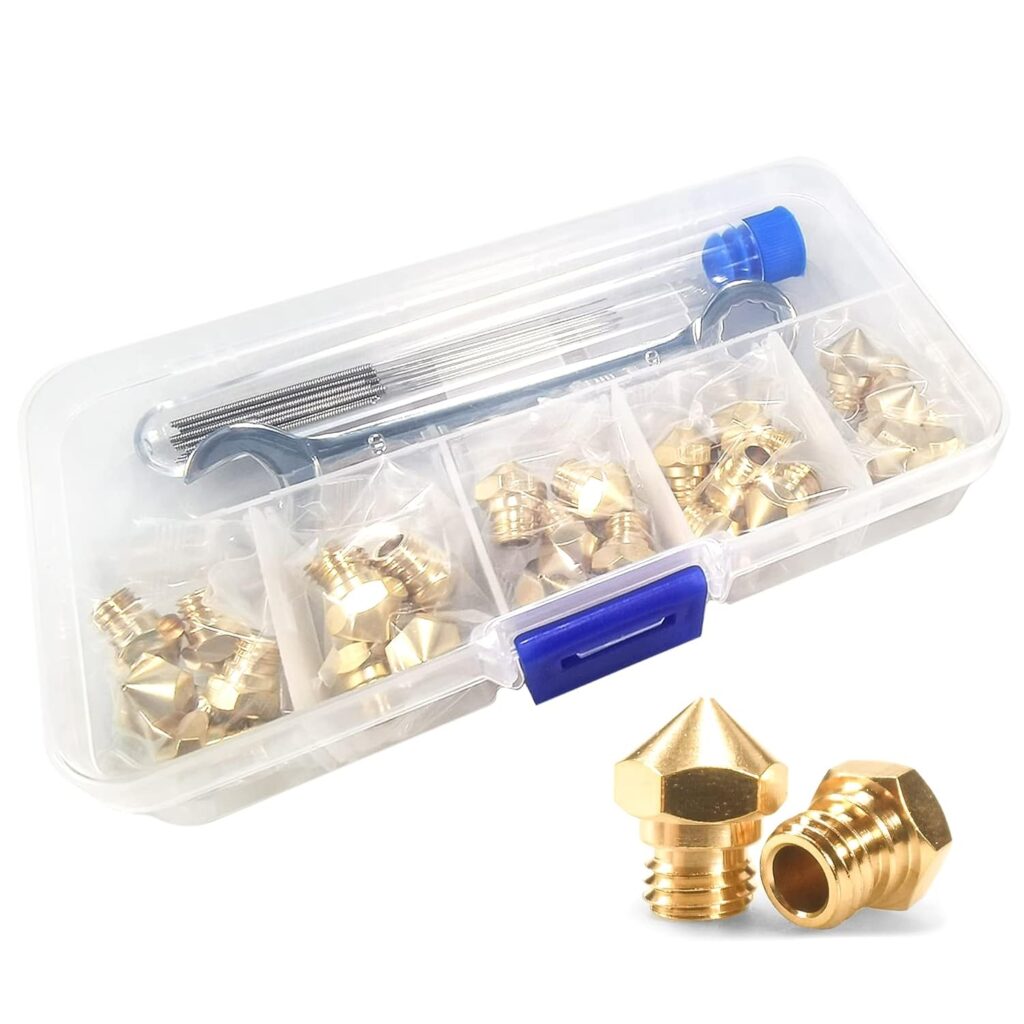
Nozzles and extruders, being the most frequently used parts, are prone to filament build-up. Heat the nozzle to around 200°C to soften and eject any remaining filament. Once ejected, use a nozzle cleaning kit or a fine needle to gently clear the inside. For more thorough cleaning, occasionally disassemble the extruder assembly. Make sure to keep track of all parts and reassemble them carefully. A soft brush can be useful for removing any dust or filament fragments from the gears and more intricate components.
It’s recommended to clean the nozzles and extruder components every 5-10 prints, though this may vary based on your printing frequency and materials used. Furthermore, once a month, inspect and clean the printer’s fans and airflow paths to ensure optimal cooling and prevent overheating.
For effective cleaning, tools such as nozzle cleaning kits, soft brushes, scrapers, and appropriate solvents like isopropyl alcohol are excellent investments. Regular maintenance not only enhances print quality but also extends the life of your 3D printer, safeguarding your investment.
Troubleshooting Common Issues
Maintaining optimal performance in your 3D printer involves addressing common issues that can arise during the printing process. Here, we will delve into troubleshooting some of the most frequently encountered problems such as filament jams, uneven prints, and layer shifting.
One of the most common issues is a filament jam, where the filament gets stuck in the extruder. To resolve this, start by heating the extruder to the recommended temperature for your filament. Gently pull out the jammed filament using pliers. If the jam persists, use a thin needle or a specialized tool to clear the nozzle blockage.
Uneven prints, characterized by inconsistent layers, can be attributed to several factors including an unlevel print bed. Ensure that the print bed is properly leveled using the manufacturer’s guidelines. Regular calibration of the bed is essential. Also, check the tension of the belts; they should be neither too tight nor too loose, as improper tension can lead to uneven layers.
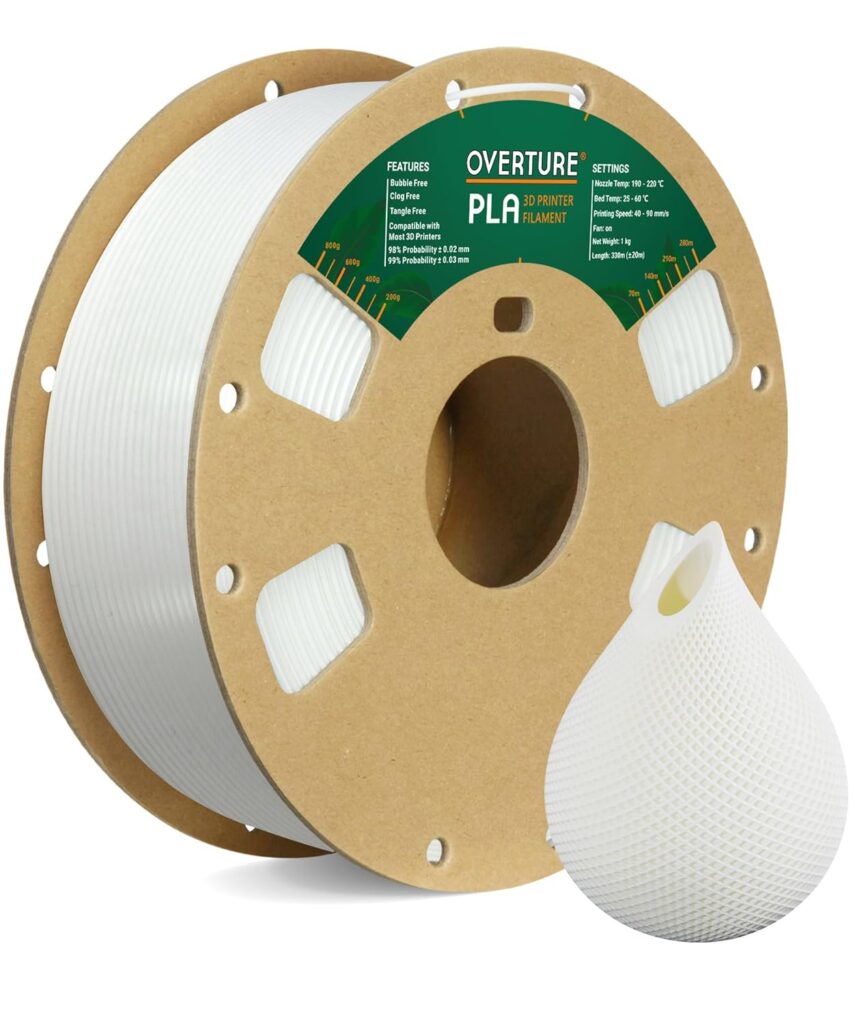
Layer shifting is another common problem, often due to the printer’s motors losing steps. This can be caused by rapid movements or vibrations. To remedy this, check that the pulleys and belts are secure, and adjust the print speed settings. Reducing the print speed can mitigate vibrations that cause layer shifts. Additionally, lubricate the rails and bearings to ensure smooth movement of the print head.
Extending the life of various printer parts is also crucial for maintaining performance. Regularly clean and lubricate moving parts like the rods and bearings. Use high-quality filament to reduce wear on the extruder and nozzle. Keep an eye out for signs of wear such as inconsistent extrusion or frequent clogs, which may indicate a part is nearing the end of its lifespan and needs replacement. Proactive maintenance can significantly reduce downtime and improve print quality.
Advanced Maintenance Tips and Upgrades
For those seeking to elevate the capabilities of their 3D printer, advanced maintenance tips and potential upgrades prove invaluable. Upgrading the printer’s firmware is a fundamental step. Updated firmware can resolve existing bugs, improve printer efficiency, and unlock new features. Ensure to download firmware updates from the official website of your 3D printer manufacturer and follow the provided installation instructions meticulously to avoid any setbacks.
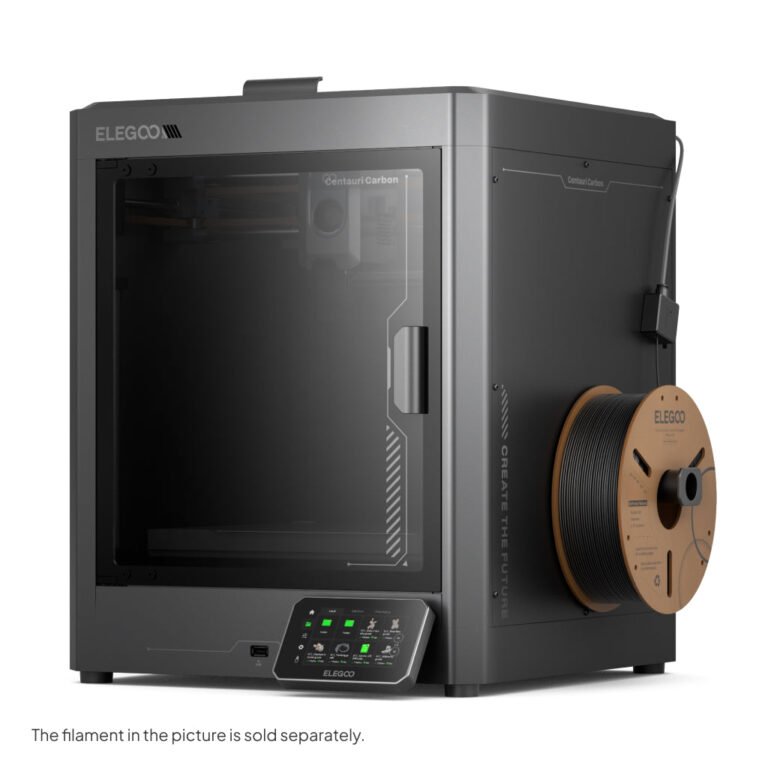
Next, consider transitioning to high-performance filament materials such as carbon fiber composites or polycarbonate. These materials exhibit superior strength and durability compared to standard filaments, enabling the creation of robust and resilient prints. However, it is crucial to verify that your 3D printer is compatible with these advanced materials, as they may require specific extruder capabilities or print environment conditions.
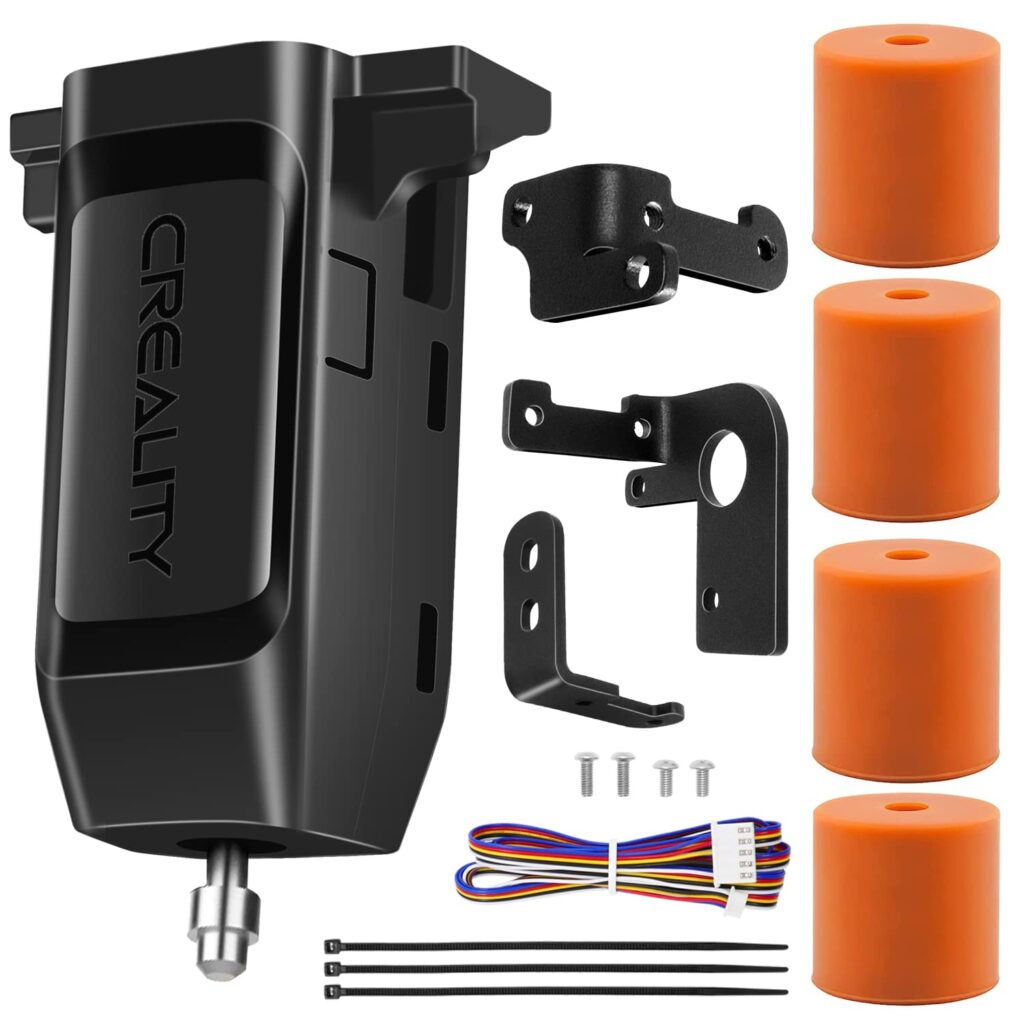
Adding new components such as auto bed-leveling sensors and advanced cooling systems can dramatically enhance print quality and consistency. Auto bed-leveling sensors automate the calibration process, reducing manual intervention and ensuring a uniformly level printing surface. This upgrade minimizes the risk of print failures due to uneven bed surfaces, leading to more reliable results.
Improved cooling systems, whether through enhanced fans or liquid cooling setups, can help manage the thermal conditions of the hot-end and extruder more effectively. Maintaining optimal temperature control is vital for achieving high-quality prints, especially with materials that are sensitive to thermal fluctuations.
When implementing these upgrades, safety precautions cannot be overstated. Always disconnect the 3D printer from its power source before making any hardware modifications. Examine detailed tutorials or seek guidance from experienced users if uncertain about the upgrade steps. Each enhancement brings its own set of benefits, ultimately contributing to a more efficient, reliable, and high-performing 3D printing setup.
